WE ALL HAVE A STORY TO TELL
Simple, Seamless, Beautiful...
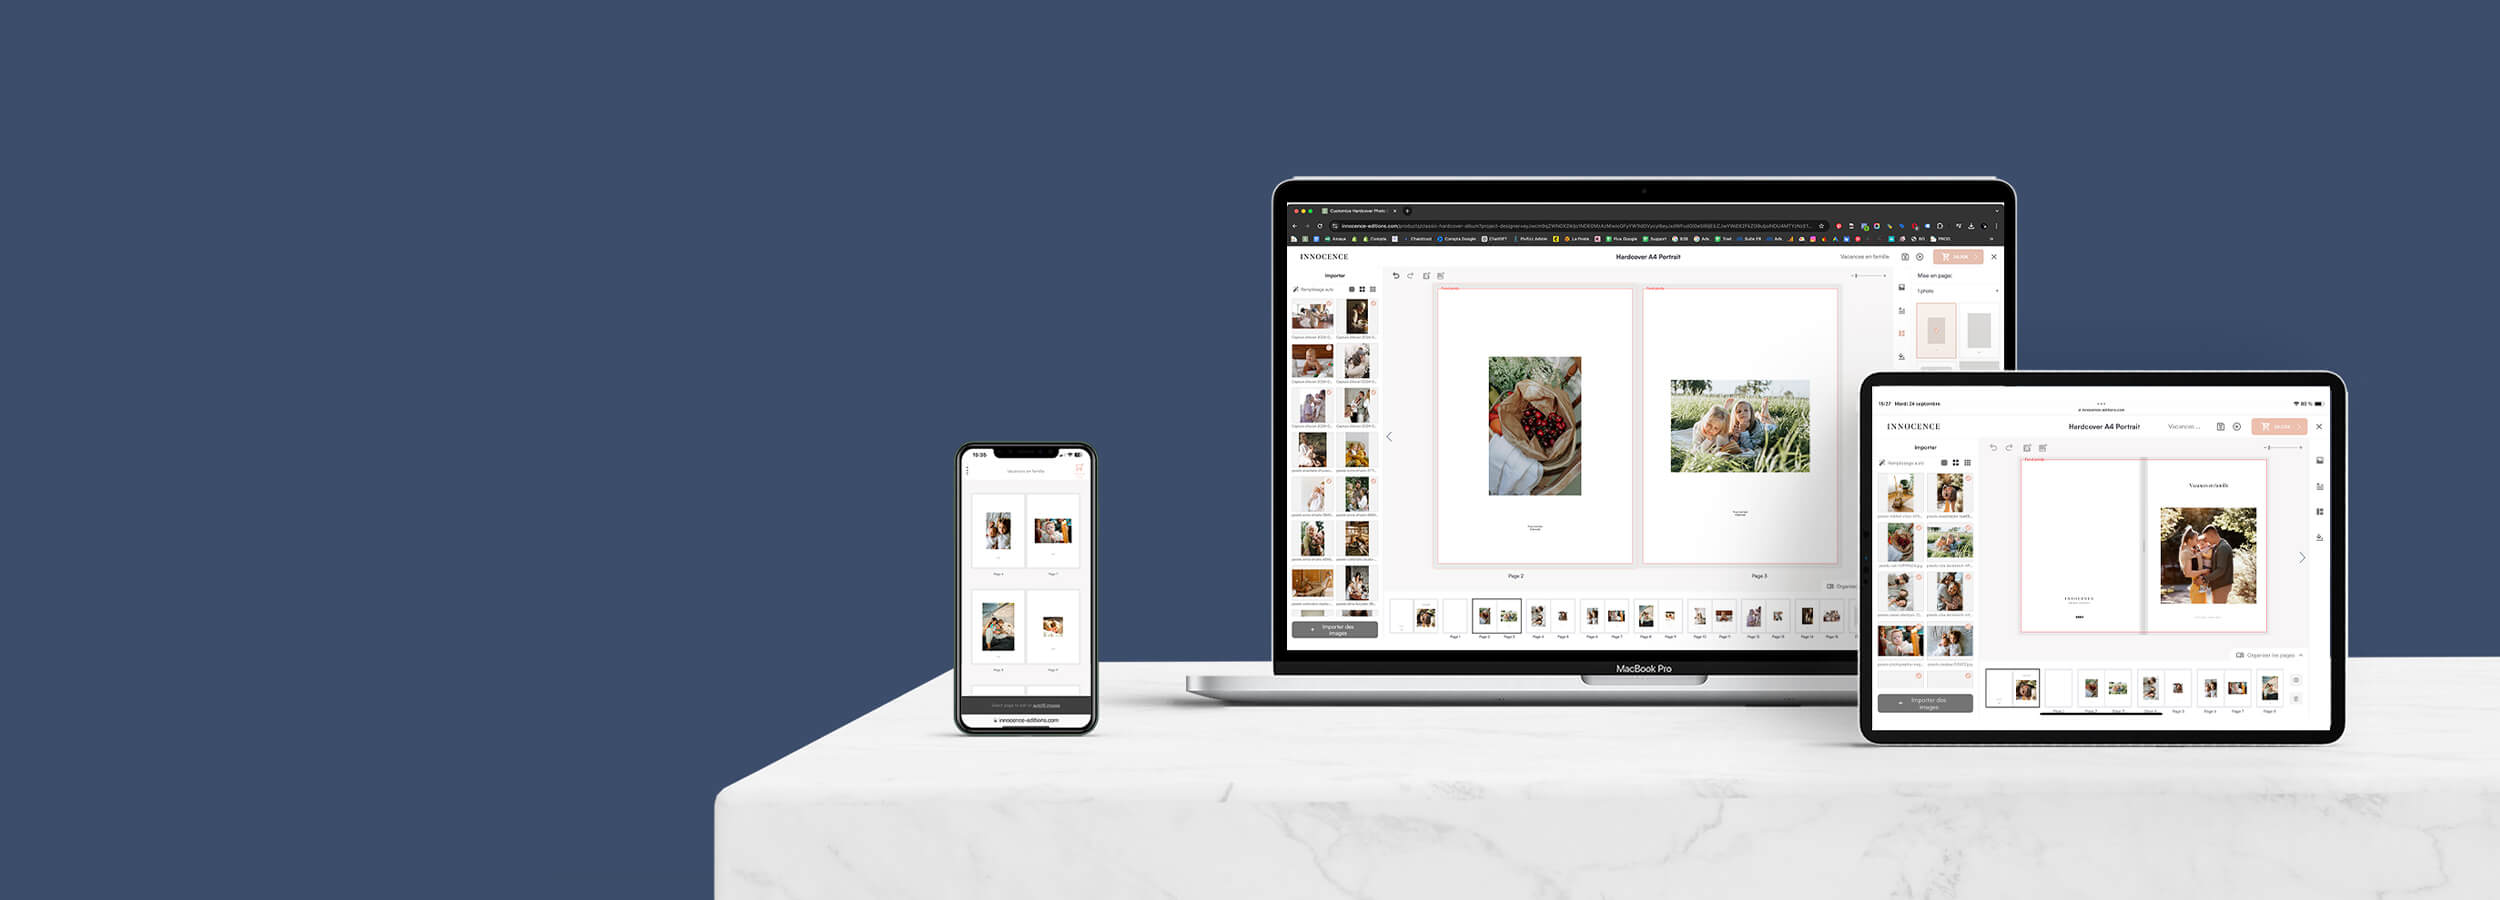
Whether you’re looking to commemorate a special occasion or create a thoughtful gift, Innocence makes designing a photo book a breeze. Our user-friendly software works across all devices, ensuring you can start and finish your project anytime, anywhere. In just a few steps, you’ll transform your favorite memories into a beautifully crafted book, ready to be shared and treasured.
STEP 1 — CHOOSE YOUR PHOTO BOOK

Start your journey by selecting the perfect photo book style. Innocence offers a range of designs, sizes, and finishes to suit any occasion. Whether it’s a family album or a special gift, choosing the right format sets the stage for your story. Once you've picked your style, you're ready to bring your memories to life!

STEP 1 — CHOOSE YOUR BOOK
Explore our collection of photo books and find the one that best fits your memories.
How many photos do I have?
If you've got lots of them, opt for our hardcover or softcover photo books, each of which can hold over a hundred pages of photos.
Is it for a special occasion?
Our photo albums are the perfect way to preserve your precious memories, specially designed to celebrate the special moments in your life. Birth, wedding, travel, anniversary, christening... every occasion deserves to be immortalized on paper.
What kind of cover do I want?
Once you've chosen your album, it's time to personalize it by selecting the color, format and much more. Once you're in the editor, you won't be able to change the type of photo album, so it's essential to make your choice right from the start.
STEP 2 — GET TO KNOW THE ONLINE PHOTO EDITOR
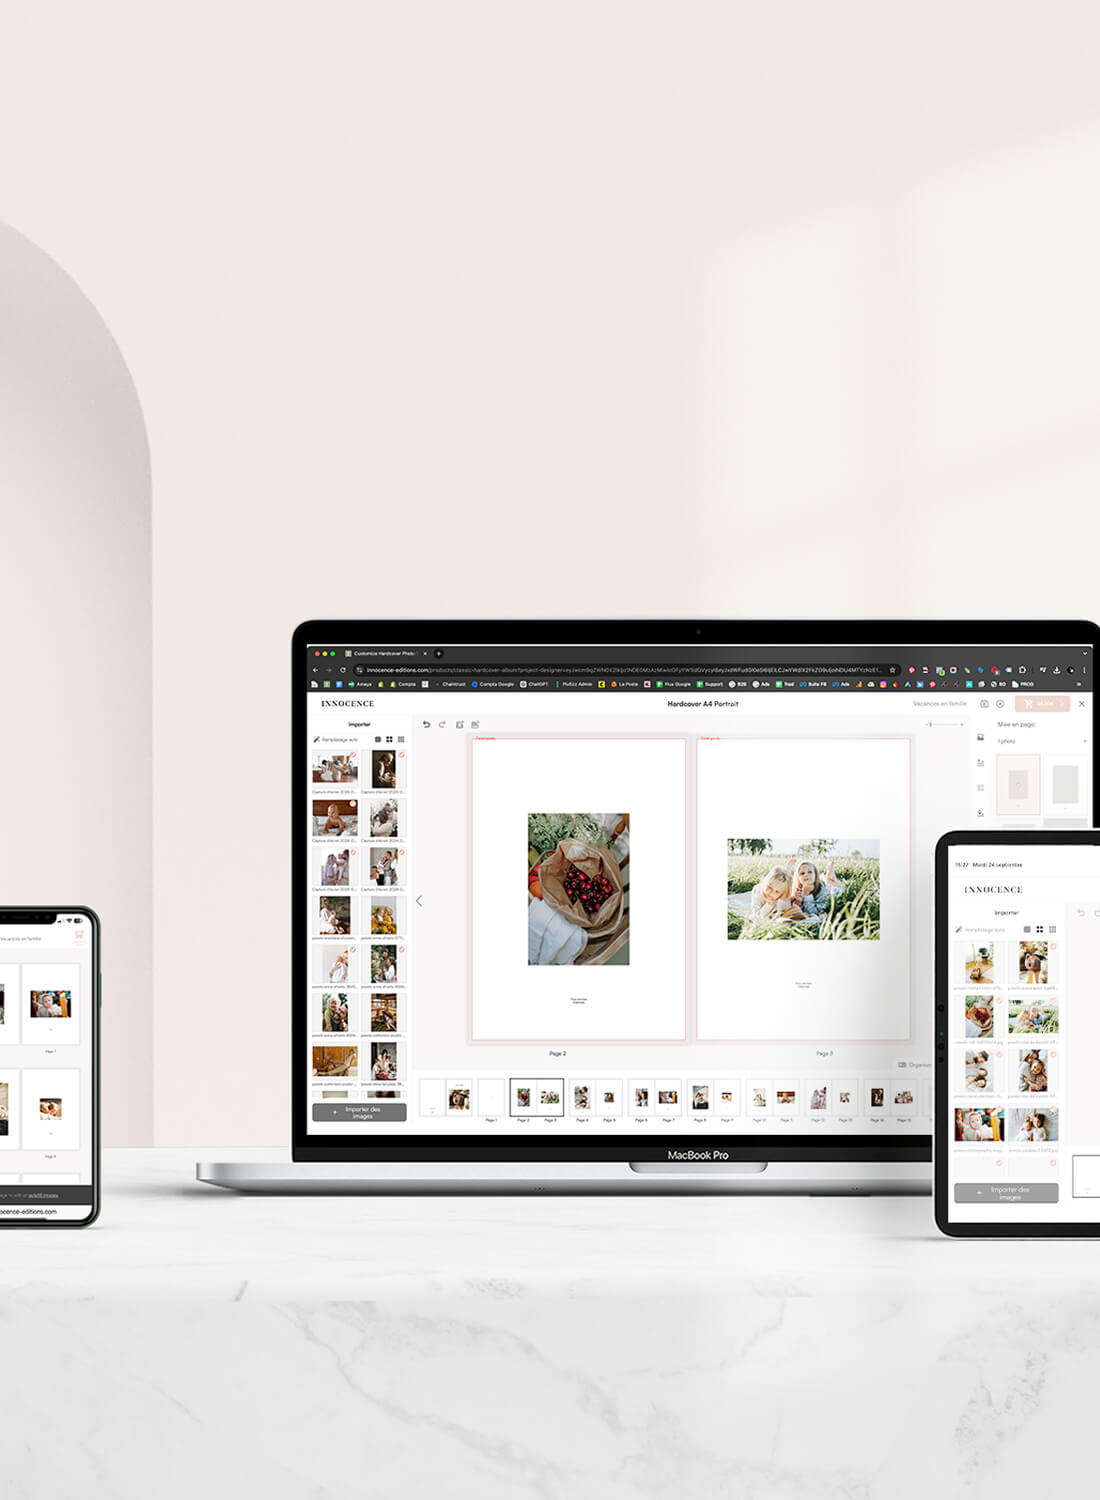

Once you’ve chosen your photo book, it’s time to dive into our easy-to-use online editor. With intuitive tools and customizable templates, you can effortlessly arrange your photos, add captions, and personalize every page. Creating your perfect album has never been simpler!
STEP 2 — GET TO KNOW THE EDITOR
Celebrate Every Memory, Page by Page
After selecting your photo book, explore our simple online editor. Easily arrange photos, add text, and customize every detail to make your album uniquely yours.
Import images
Importez vos photos en les sélectionnant directement depuis un dossier sur votre ordinateur ou en scannant le QR code affiché à l'écran avec votre smartphone.
The “Images” tab
Crop, zoom, rotate or apply filters to personalize your images.
The “Text” tab
Adjust the alignment, font and style of your text. On our editions, unfilled elements (photos or text) will not appear in the printout (no empty frames or “your text here” messages).
The “Page layout” tab
Choose here the types of layout you wish to add to your pages.
The “Organize pages” tab
Click on “Organize pages” to reorganize your pages by dragging them, or duplicate them as required. Add new pages by clicking on “+”, or delete them by selecting the trash icon.
The “previous” and “next” arrows
Did you make a mistake? Click on the “Back” arrow to undo your last action and easily correct it.
The “Bleed printing” red frame
The red frame marks the cutting area of your album. For best results, make sure that the essential elements of your images remain within this frame.
Fill in each page yourself
Drag and drop your photos into the desired slots to personalize each page.
Opt for automatic filling
Create your album in the blink of an eye! Click on the “Auto fill” button and the editor will automatically place your imported photos on the pages. You can then adjust the page order, reposition photos, or add text as you wish.
Quality alert
If a yellow triangle and a warning message appear, this indicates that the photo resolution is too low, which could affect print quality. To improve rendering, we recommend zooming out, reducing image size, or using a photo with a higher resolution.
The “Preview” tab
Visualisez votre projet avant de finaliser votre commande. Cette étape est cruciale, car une fois la commande passée, les modifications ne seront plus possibles.
The “Save” tab
Don't forget to save your current project so that you can easily find it in your Innocence customer account.
STEP 3 — BRING YOUR STORY TO LIFE

As you bring your memories to life on the page, a few creative tips can help you craft a truly unique and visually engaging photo book. From choosing the right layout to balancing photos with text, these simple strategies can elevate your album, turning it into a beautiful keepsake that tells your story in a way that’s both personal and compelling.

STEP 3 — BRING YOUR STORY TO LIFE
Tips to Perfect Your Photo Book
Photo brightness
For results as vivid as your memories! Photos can appear darker in print than on screen. Choose bright photos or adjust their brightness before importing them. Tip: Set your screen to 50% brightness to get a preview closer to the printed image.
The cover page
Start your album with a big, striking image that will set the tone for the rest of the book.
Use a variety of layouts
To liven up your story, alternate layouts by mixing small and large photos, in portrait, square or landscape orientation. Highlight your best images by displaying them on a full page.
Use text to tell your story
Text is a great way to personalize your albums and preserve details: add captions with date and place, or dedication pages to make gifts even more touching.
Highlight What Matters Most
Ultimately, what truly matters is what holds significance for you. Don't worry about achieving perfection; you can't go wrong when you concentrate on the photos that bring you joy.
MADE FOR THE STORIES THAT MATTER MOST

YOUR MOMENTS, OUR CRAFT


